Reupholstering chairs can seem daunting, but it’s a rewarding DIY project that transforms old furniture into fresh, stylish pieces. With a few tools and materials, anyone can breathe new life into their favorite chairs. This beginner’s guide will walk you through the essential steps of the reupholstering process, from selecting the right fabric to mastering basic techniques. Whether you’re looking to refresh a family heirloom or simply want to add a personal touch to your décor, this article provides the tips and inspiration you need to get started.
Choosing the Right Chair for Reupholstering
When selecting a chair for reupholstering, it’s essential to consider its overall condition and structural integrity. Look for chairs that are sturdy and have a solid frame, as this will ensure they can withstand the reupholstering process and remain functional for years to come. Vintage or antique chairs often make great candidates due to their unique designs, but be sure to check for any damage to the legs, joints, or springs, as these may require additional repairs before you begin the upholstery work.
Additionally, think about the chair’s style and how it fits into your existing decor. Consider whether you want to maintain the original aesthetic or give it a modern twist with bold fabrics and colors. Choosing a chair that resonates with your personal taste will not only make the project more enjoyable but also result in a piece that you’ll be proud to display in your home.
Gathering Necessary Tools and Materials
To successfully reupholster a chair, having the right tools and materials is crucial. Here’s a list of essential tools you’ll need:
- Staple Gun: For securing the fabric to the chair frame.
- Fabric Scissors: Sharp scissors specifically designed for cutting fabric cleanly.
- Measuring Tape: To accurately measure the dimensions of the chair and fabric needed.
- Upholstery Needle and Thread: For any sewing required during the process.
- Pliers: Useful for removing old staples or tacks from the chair.
- Hammer: For securing any nails or tacks.
In addition to tools, you’ll also need to gather your materials. Here’s a list of recommended materials for the upholstery project:
- Upholstery Fabric: Choose durable fabric suitable for furniture, such as canvas, denim, or upholstery-grade polyester.
- Batting: Soft padding that provides comfort and a smooth appearance.
- Foam: High-density foam for cushioning, especially if the original padding is worn out.
- Dust Cover Fabric: A lightweight fabric for the underside of the chair to give it a finished look and protect the internal components.
Having these tools and materials on hand will streamline your reupholstering process, allowing you to focus on creating a beautiful, refreshed piece of furniture.
Preparing the Chair for Upholstery
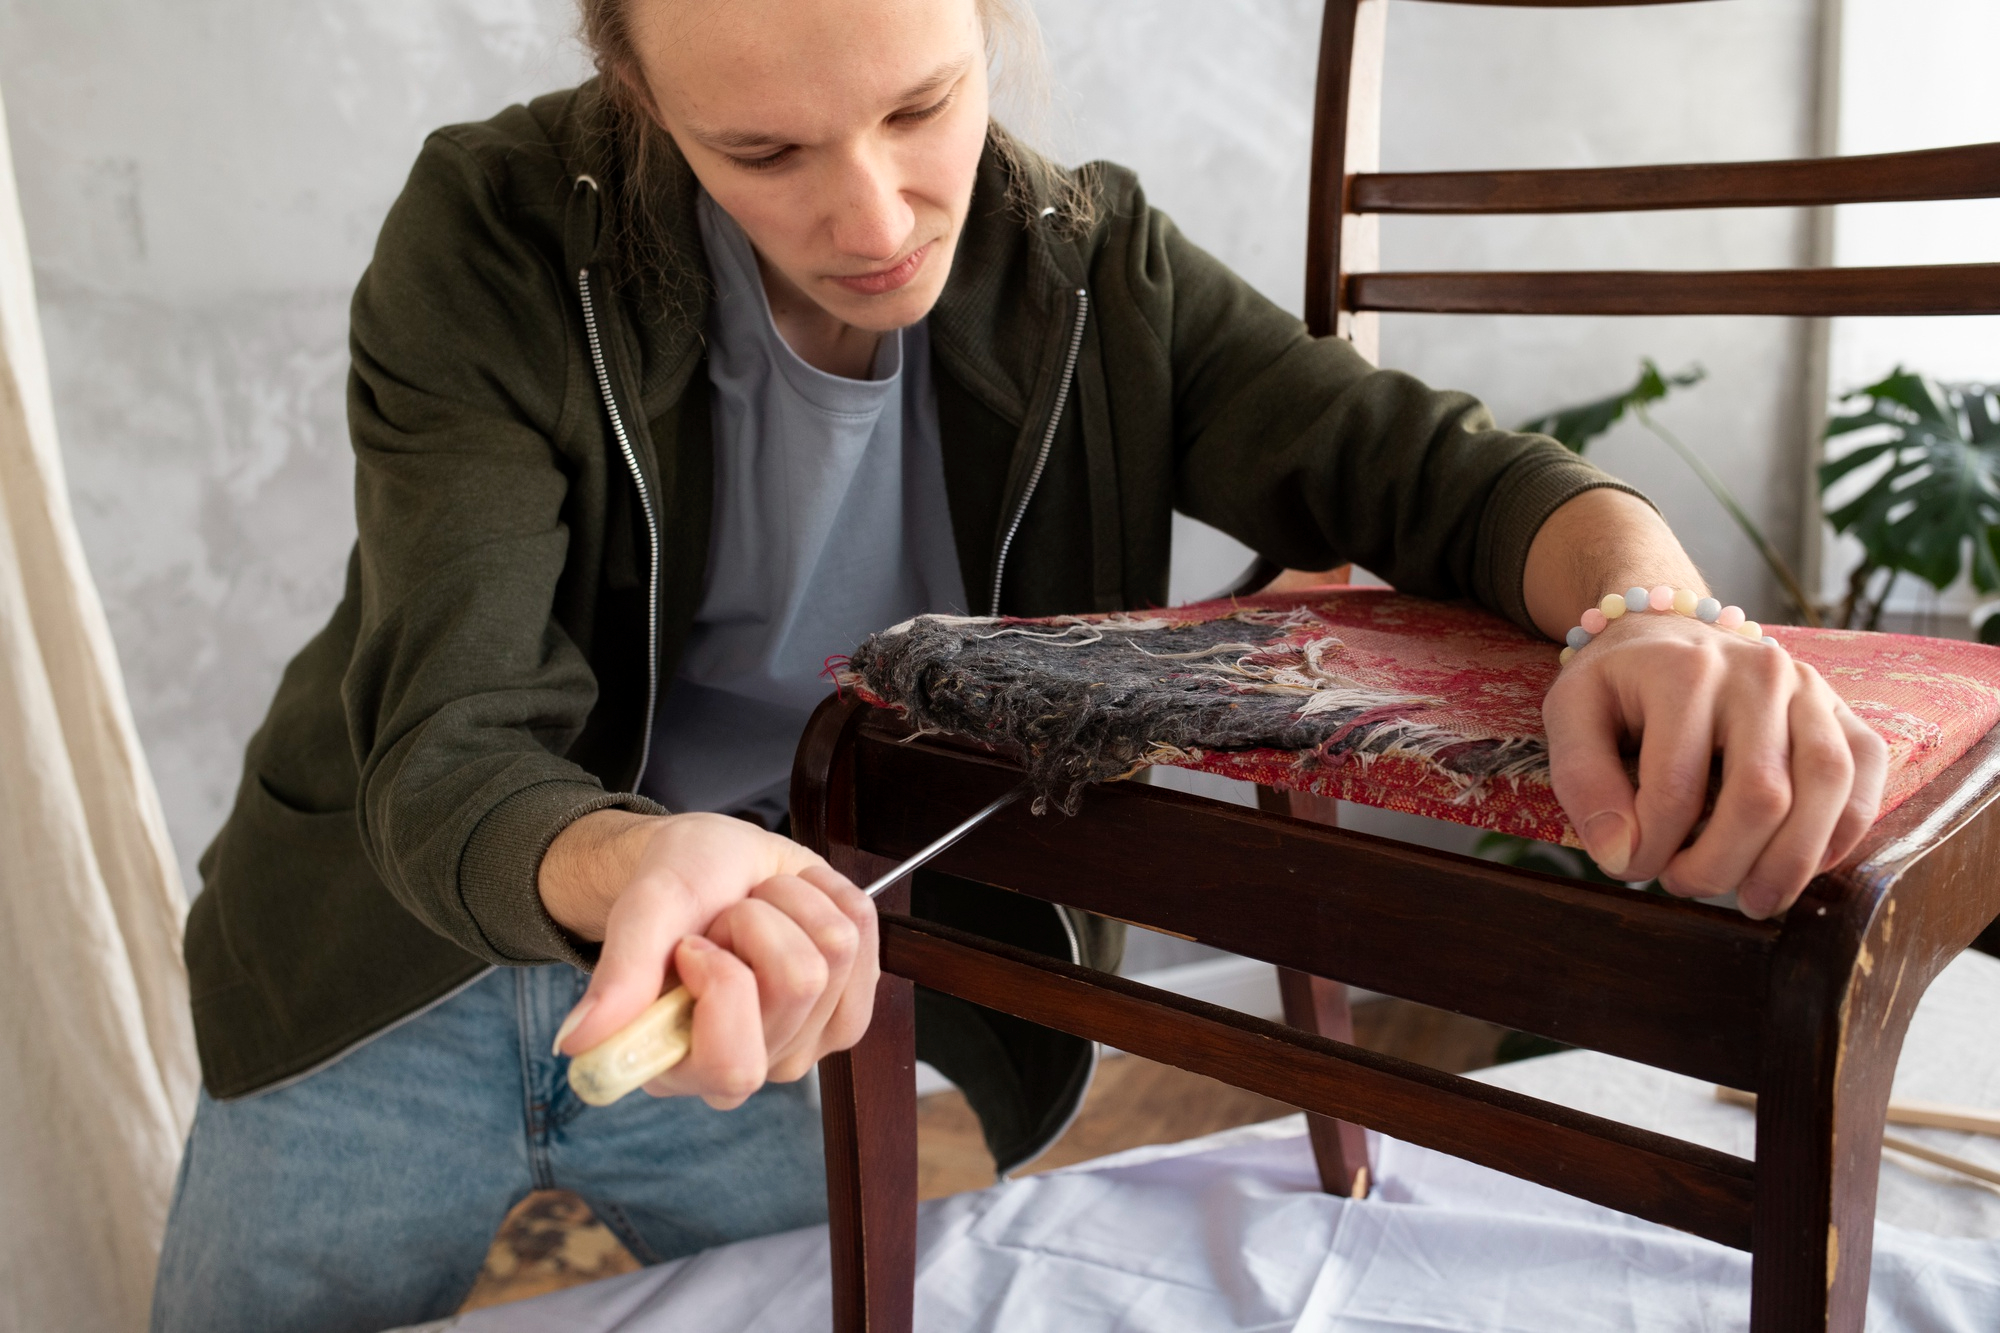
Before diving into the upholstery process, preparing the chair is a crucial step that ensures a smooth and successful project. Start by disassembling the chair safely. This typically involves removing any cushions, seat covers, and, in some cases, the legs or backrest. Use your pliers to carefully pull out any staples or tacks holding the fabric in place. It’s essential to keep track of all the screws and small parts, so consider using a small container to store them during the process.
Once disassembled, inspect the chair frame for any damage. This is a great opportunity to address any issues that may affect the final outcome. Here’s a checklist of things to look for and potential repairs to make:
- Check for Loose Joints: Tighten any screws or glue any loose joints to ensure the chair is stable.
- Inspect for Cracks or Damage: Look for any visible cracks in the wood or structural damage that may need repair.
- Sand Down Rough Areas: If the wood is rough or splintered, sand it down to create a smooth surface before reupholstering.
- Clean the Frame: Wipe down the chair to remove any dust, dirt, or old adhesive, preparing it for the new upholstery.
Taking these preparatory steps will help ensure that your chair not only looks great but is also sturdy and functional after reupholstering.
Measuring and Cutting Fabric
Accurate measurement and cutting of fabric are vital steps in the reupholstering process to ensure a perfect fit. Below is a table outlining the key measurements you need to take for various parts of the chair:
| Chair Part | Measurement Technique | Notes |
| Seat | Measure the width and depth of the seat | Include extra for wrapping under. |
| Backrest | Measure the height and width of the backrest | Account for any curves or contours. |
| Armrests | Measure length, width, and height | Ensure you capture the full profile. |
| Legs (if covered) | Measure the height and circumference (if applicable) | Consider fabric overlap for a clean finish. |
Once you have your measurements, it’s time to cut the fabric. Follow these guidelines for the best results:
- Add Extra Fabric: Always add a few extra inches to each measurement to allow for wrapping around edges and stapling underneath the chair.
- Lay Out the Fabric: Before cutting, lay out the fabric on a flat surface to visualize how it will fit and ensure there are no flaws in the fabric.
- Use Fabric Scissors: Utilize sharp fabric scissors to make clean cuts, preventing fraying and ensuring the edges remain neat.
- Cut in a Single Layer: To maintain accuracy, cut one piece at a time rather than stacking multiple layers of fabric.
By taking precise measurements and cutting the fabric carefully, you’ll set a solid foundation for the upholstery process, ensuring that the finished product looks professional and well-fitted.
Adding New Padding and Batting
Adding new padding and batting is a crucial step in reupholstering, as it enhances both the comfort and appearance of the chair. Begin by assessing the existing padding; if it’s worn out or insufficient, removing it will create space for new materials. Lay down the foam directly onto the chair’s seat or backrest, ensuring it fits snugly within the frame. High-density foam is often preferred for its durability and support, and it can be easily cut to the required size using a sharp utility knife or fabric scissors.
Once the foam is in place, cover it with batting, which acts as a protective layer and adds softness to the edges. The batting should extend beyond the foam, allowing you to wrap it around the edges of the chair frame for a seamless finish. Use a staple gun to secure the batting in place, ensuring it’s taut but not overly stretched. This layer not only improves comfort but also creates a smooth surface that will enhance the overall look of the finished upholstery. Taking the time to carefully add new padding and batting will ensure that your reupholstered chair is both visually appealing and comfortable to use.
Upholstering the Chair
Upholstering the chair is the most rewarding part of the reupholstering process, as this is when your vision truly comes to life. Start by positioning your fabric over the padded areas, ensuring it is centered and that you have enough material to wrap around the edges. It’s important to check that any patterns or designs on the fabric align properly, giving your chair a polished look. Once positioned, begin securing the fabric by stapling it to the underside of the seat, working from the center outwards to avoid wrinkles and ensure an even distribution.
Here’s a list of key techniques to keep in mind during this step:
- Stapling: Use a staple gun to attach the fabric, placing staples about every 2–3 inches along the edges for a secure hold.
- Tacking: For areas that require additional support or a decorative finish, consider using tacks or decorative upholstery nails.
- Pulling Fabric Tight: As you staple, pull the fabric tightly to eliminate any slack, but be careful not to over-stretch, which can lead to puckering.
- Corner Techniques: For corners, fold the fabric neatly and staple it in place to create a smooth transition. You can use a “hospital corner” technique for a clean finish.
Taking the time to follow these techniques will ensure a professional-looking result, making your reupholstered chair both attractive and comfortable. Once you finish stapling all sides, you can trim any excess fabric and prepare for the final touches.